Please check step by step instruction how to setup WP logo Slider FREE version.
Step 1: First Download the zip file then go Plugins=>Add New then select the zip file and upload.
or unzip the file and upload the folder in the plugin folder dir
then Active the plugin
Step 2: After Active the plugin go to left menu and see “Logo Slider” First go to settings
Check if you want to re-size image and set own size
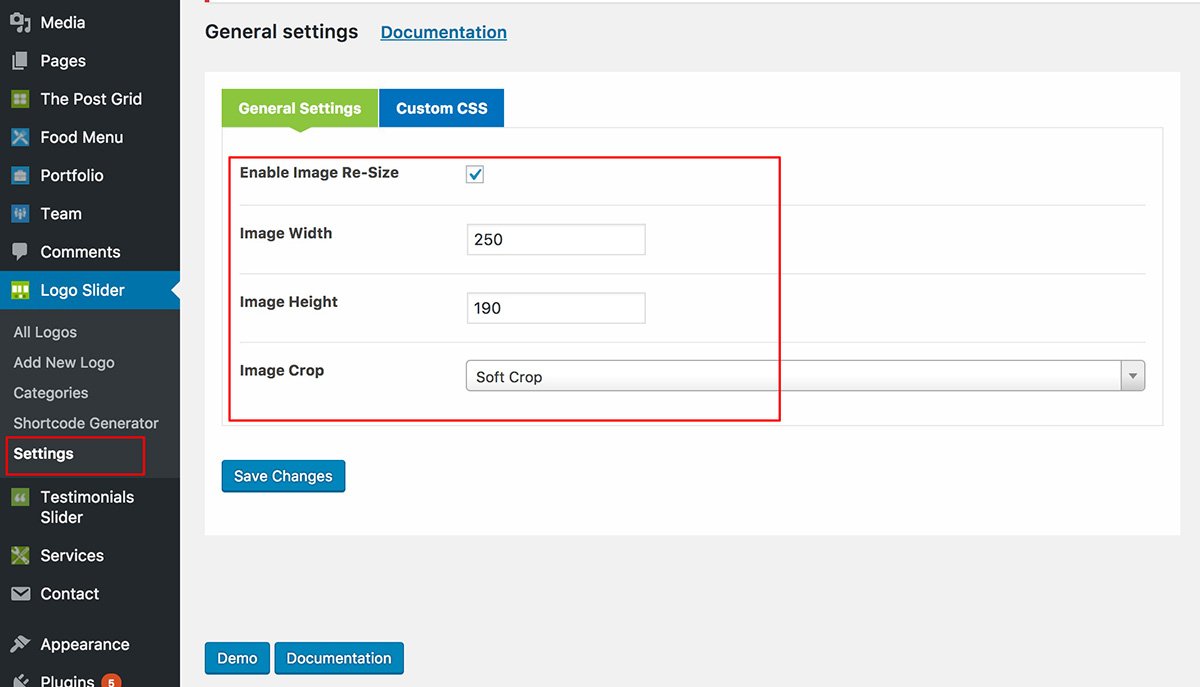
Write your custom CSS here.

Step 3: Add Category: Add the category name then from bottom click add new category.

4.1) Title: Add Logo Name
4.2) Logo Image: Add Logo Image
4.3) Client Web Site URL: Add your target url where it go.
4.4) Logo Description: Add Logo description

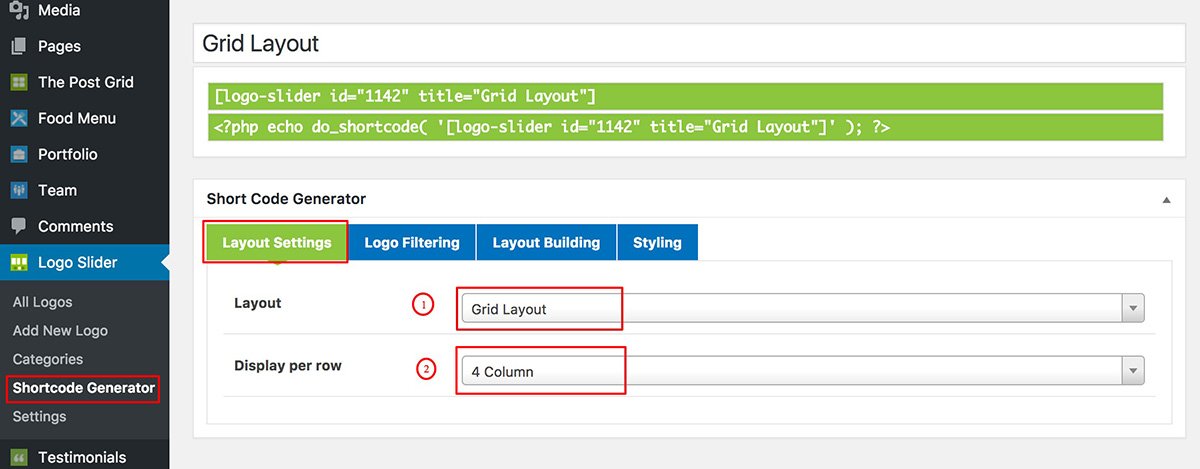
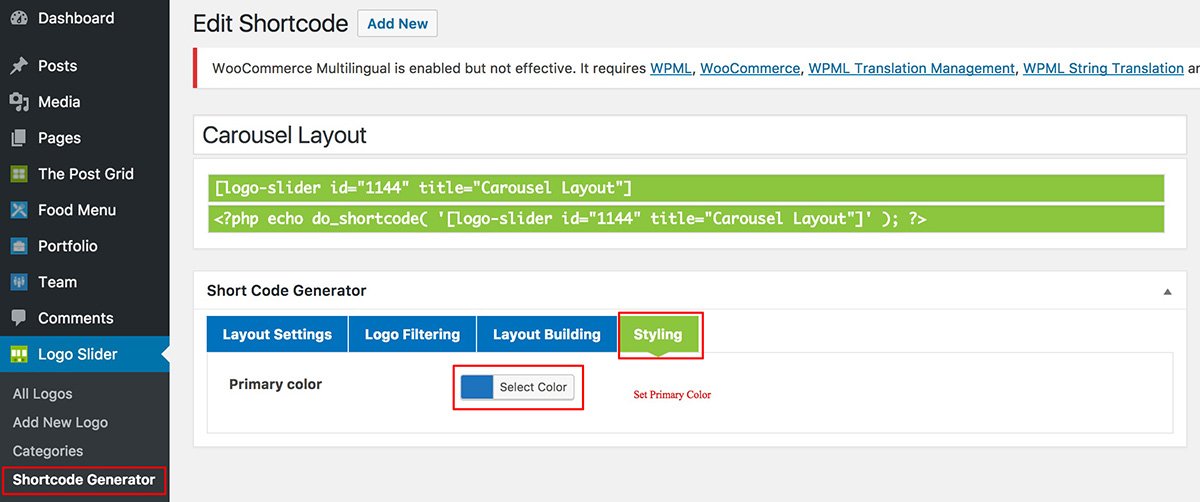
Step 5: Shortcode Generator
5.2) Layout Settings:
5.1.1) Layout: First Select the Layout.
5.1.2) Column: Select how many column you wan to show.
5.1.3) Carousel Settings: Set Carousel Slider property

5.2.1) Include Only: You can input specific logo id which one specially you want to include.
5.2.2) Exclude: You can input specific logo id which one specially you want to exclude.
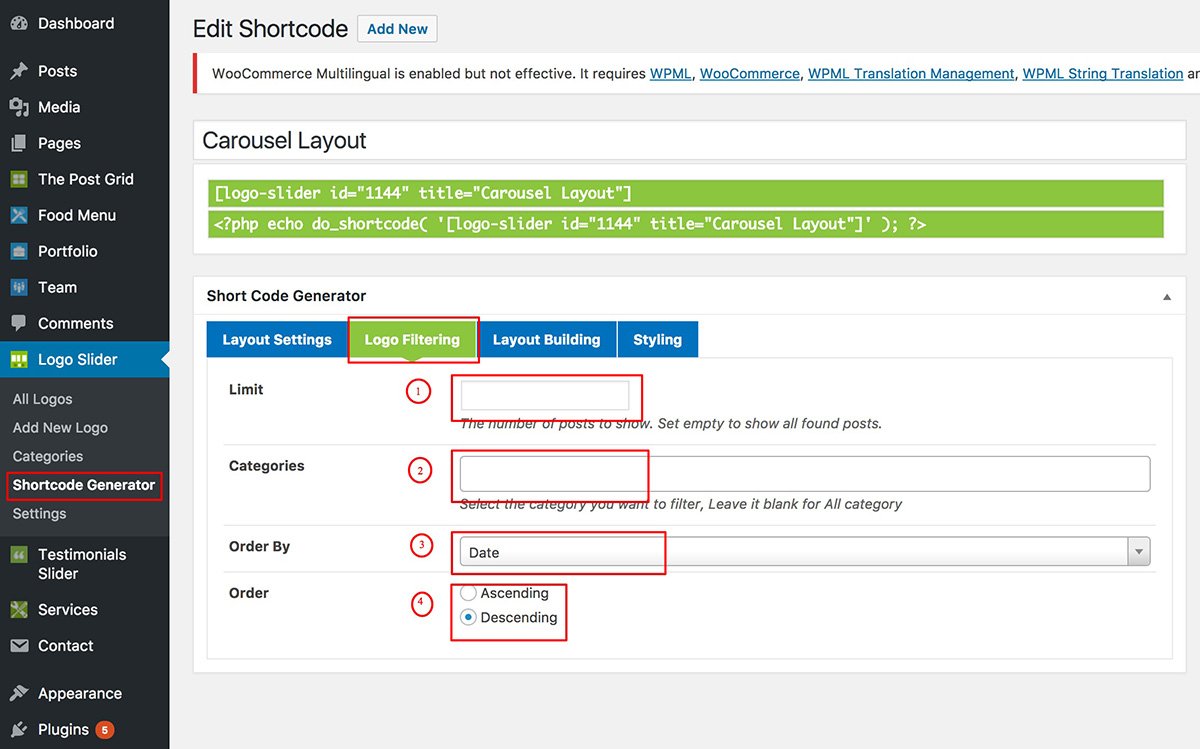
5.2.3) Limit: You can set limit how many want to display.
5.2.4) Categories: You can select which category(s) you want to display.
5.2.5) Order By: You can select order by option name, title, data ..
5.2.6) Order: Set Order
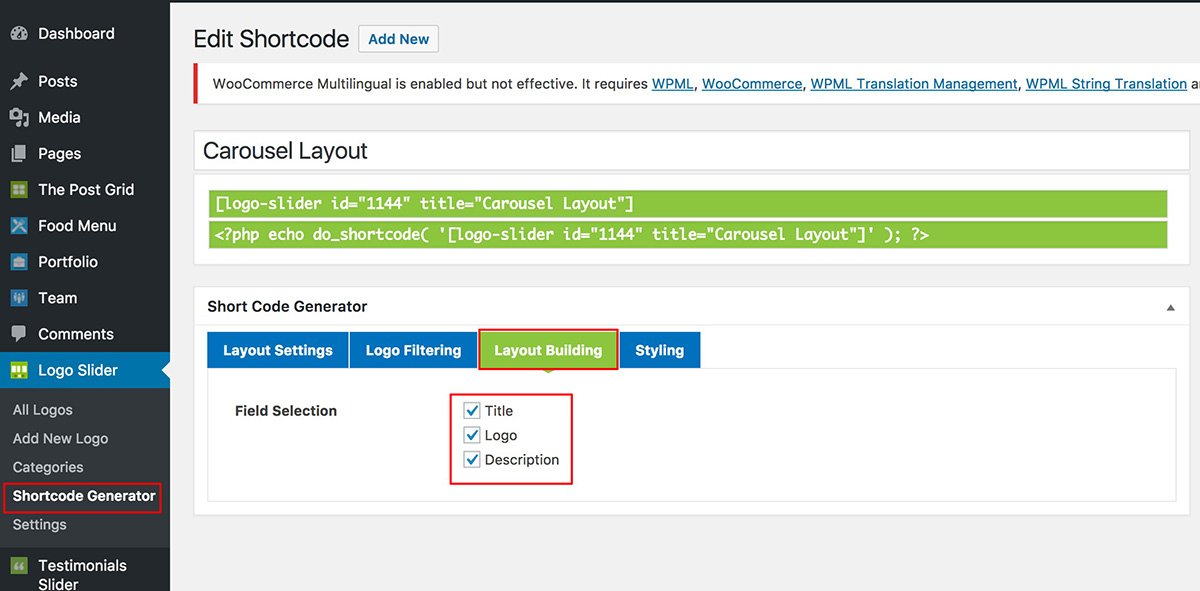
You can check which fields you want to show or hide.
5.4.1) You can set Primary color
11) How to add Grid Layout?
Go to Shortcode Generator => Layout Settings Tab => Then select “Grid Layout ” then select others rated fields.