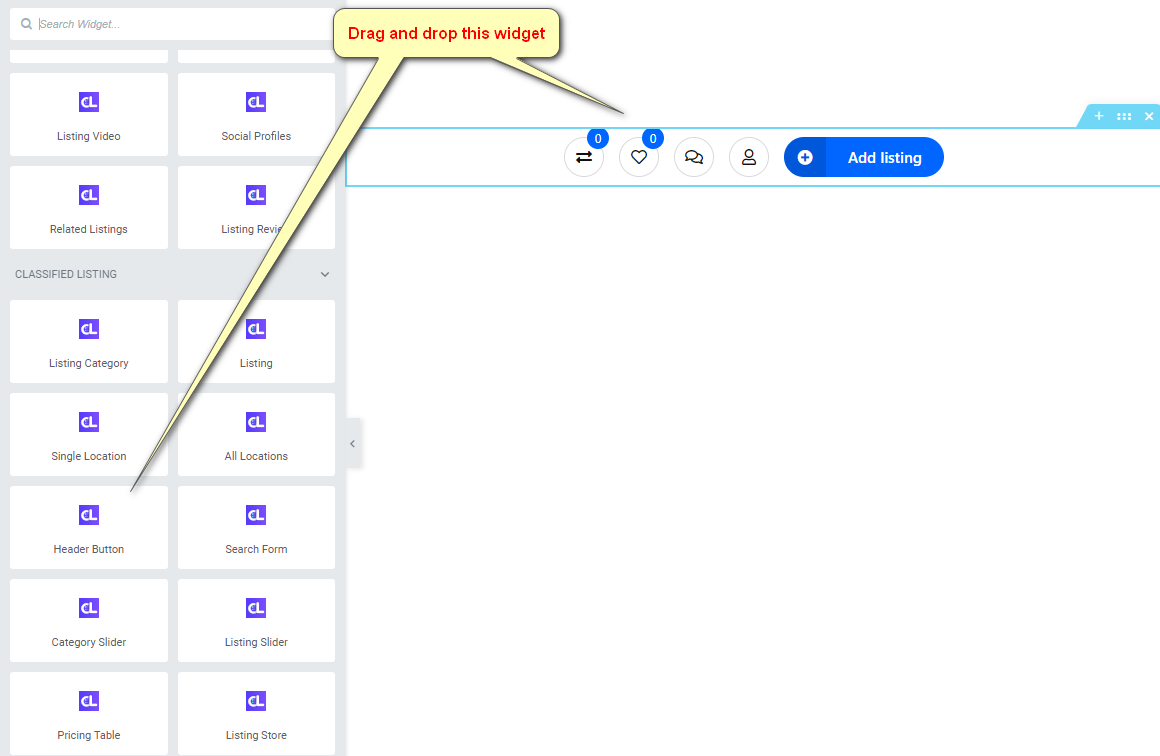
Step 1: To add or edit the Header Button widget at first edit with elementor and drag and drop Header Button widget inside page.
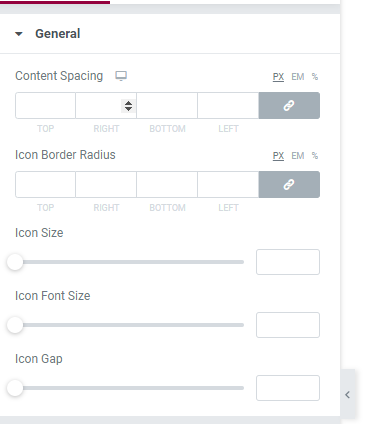
General settings Have Content spacing, Icon border Radius, Icon size, and icon gap control.
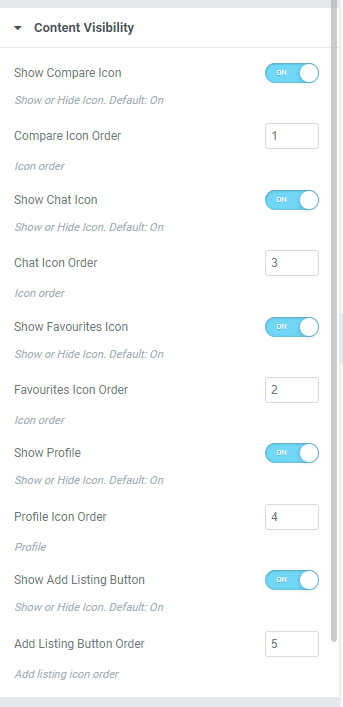
The content Visibility section has some switch buttons for Displaying button and some fields for set button ordering.
Compare section has a “compare icon” change option.
The favorite section has a “Favorites Icon” change option.
The profile section has a “Profile Icon” change option.
The Chat option section has a “Chat Icon” change option.
The Add listing Button section has a Icon change option.
Style Tab
The icon style section has some control for changing the Icon background. Icon color, Border, Count background color., Icon count color.
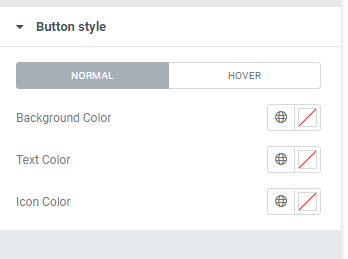
Button style can change button background color, Text color, Icon color.